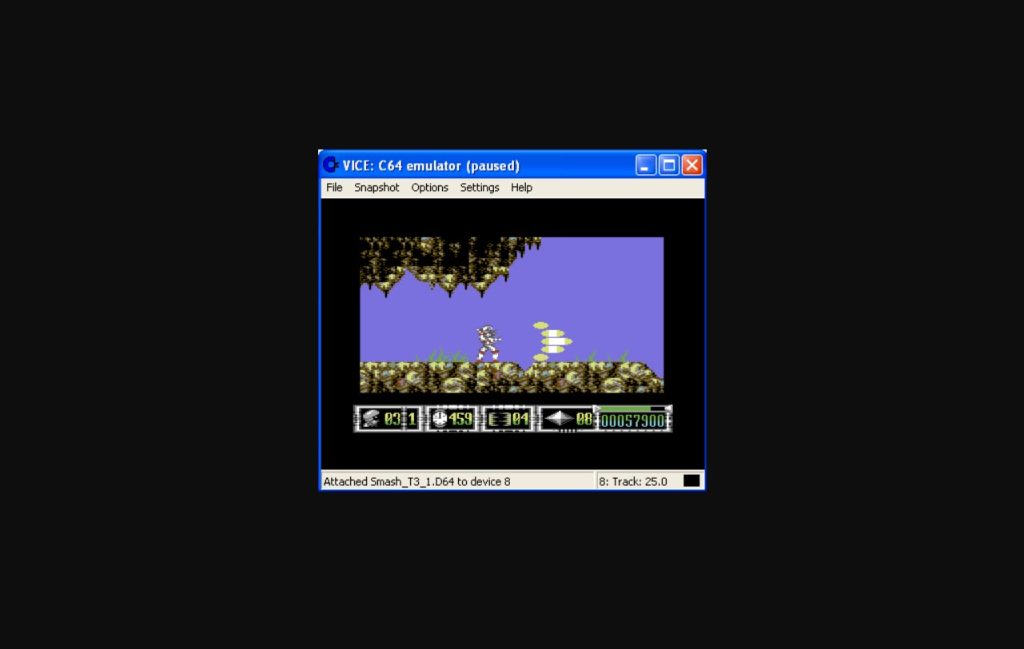
If you felt nostalgic about playing the old-school Commodore 64 games classics but are unsure how to do that, you have come to the right place.
In this article, you will be able to read and learn how to use VICE Commodore 64 emulator to play all those good old classic games again. Let’s get started!

How to Use VICE Commodore 64 Emulator
Although multiple Commodore 64 emulators exist, the VICE is the best, most optimized, and most compatible with almost all operating systems.
This emulator has many available options for the ultimate gaming experience and is suitable for most Commodore computer systems.
That said, if you agree with me and want to use this particular emulator to play the Commodore 64 games, in continuation, you can read the step-by-step instructions on how to use VICE Commodore 64 emulator most efficiently.
Step-By-Step Guide
Download and install the Commodore 64 emulator
The first and foremost thing you need to do is to download the Commodore 64 emulator. You can find many websites where you can download this emulator safely and for free. Then, after you are equipped with it, it is time to install it.
The WinVICE (the Commodore 64 emulator) comes as a ZIP file, so you will have to open it and extract it anywhere you see fit on any of your hard drives. After doing this, to start the program, you will need to execute the x64.exe file in the main folder of WinVICE.
Additionally, if you want any Desktop or Start Menu shortcuts, you must create them manually.
Adjust the preferred settings
Although you can usually start using the Commodore 64 emulator immediately without adjusting settings, I strongly suggest trying these modifications out, as they can significantly improve your overall Commodore 64 gaming experience.
Video settings
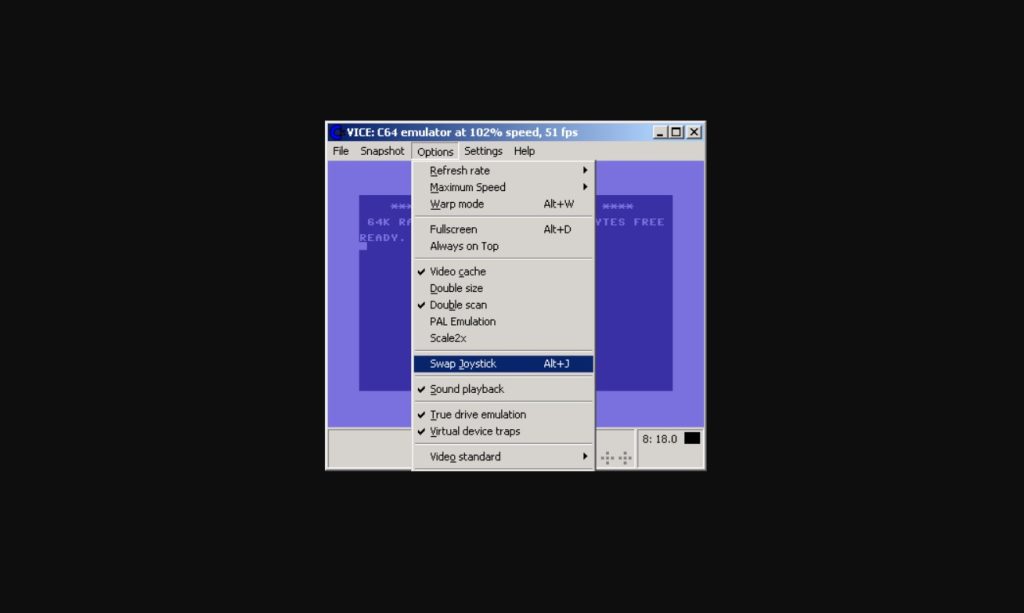
The first type of video setting modification we will look into is the bigger appearance of the screen. You must open the “Options” menu and click on the “Double size” to make the game window much larger than the original.
Moreover, if you want to feel a genuine TV picture imitation, you can tick the “PAL Emulation” in the Options menu.
Fullscreen
If you are still unsatisfied with the size of the game window and want to make it full-screen, you must press and hold “Alt” and “D” simultaneously. Make sure that while you are doing this, the emulation should be running.
Additionally, if you want to manually alter the game window or emulation and make it a specific size, you can open the “Settings” menu and click on the “Video settings”. Here you will be able to adjust the size of the emulator by entering specific numbers.
After you finish the game and want to return the game window to normal, just repeat this same operation.
Read more: What’s the Best Commodore 64 Emulator?

Joystick emulation
When your game requires a joystick, worry not. You can activate the joystick emulation by going to the “Settings” menu and selecting the first joystick port. While in this option, you can even configure the joystick’s directions, which is amazing and extremely helpful.
Additional settings
Besides adjusting the screen and video settings, you can try, modify, and play around with some other settings that might take your Commodore 64 game experience to a higher level.
The first setting I want to mention is the True drive emulation which is automatically ticked, and I strongly recommend you leave it that way regardless of the Commodore 64 games you might be playing.
The second option to pay attention to is the Virtual deVICE traps option, which is automatically ticked and selected. Still, because it can often cause problems and not let you play a particular game, you can feel free and disable it.
Save the changes
After you have made your preferred changes for the utmost gaming enjoyment, ensure to save the modifications you did by clicking on the “Save current settings” option in the Settings menu. Also, you might see a button saying “Confirm” on the exit; ensure to click on it as well.
Start the program
After seeing how to install and adjust the emulator, it is time to see how to start and how to use VICE Commodore 64 emulator.
Before opening any Commodore 64 games, you need to know that the disk image is the most common type of game file that this emulator supports. You can locate these files by the extension ‘.d64’.
Opening the game
To open a particular game, you will need to go into the File menu and, from there, locate and click on the first menu option, which is “Autostart disk/tape image”. When you do this, a new window will pop up containing a list of all available Commodore 64 games you can play.
Finally, after finding the game you want to play, select it by double-clicking on it or clicking on the “Attach” option. When you do this, the game will begin loading and automatically start shortly after.
Disk change
If you need more than one ‘d64’ image, worry not. I will share a solution for that problem as well. Namely, to change the disk when emulating, you must click on the “File” menu and select “Attach disk image”. Under this setting, find and click on the “Drive 8” option.
After doing so, you will see a new window similar to the Autostart disk/tape image option. The main difference between these two options is that the file will not be extracted but simply inserted into the virtual disk by confirming this choice by clicking on the “Attach” button. This option is a modern substitute for the old floppy disk switching.
Also read: How to Start Commodore 64 Game
Conclusion
In this article, you had the opportunity to learn how to use VICE Commodore 64 emulator most simply and as straightforwardly as possible.
I made sure to include detailed step-by-step instructions so that even though you might be a beginner, you can still successfully play the legendary Commodore 64 games without limitations.
 Commodore Games Play Online Games for Free | Unblocked and Unlimited


